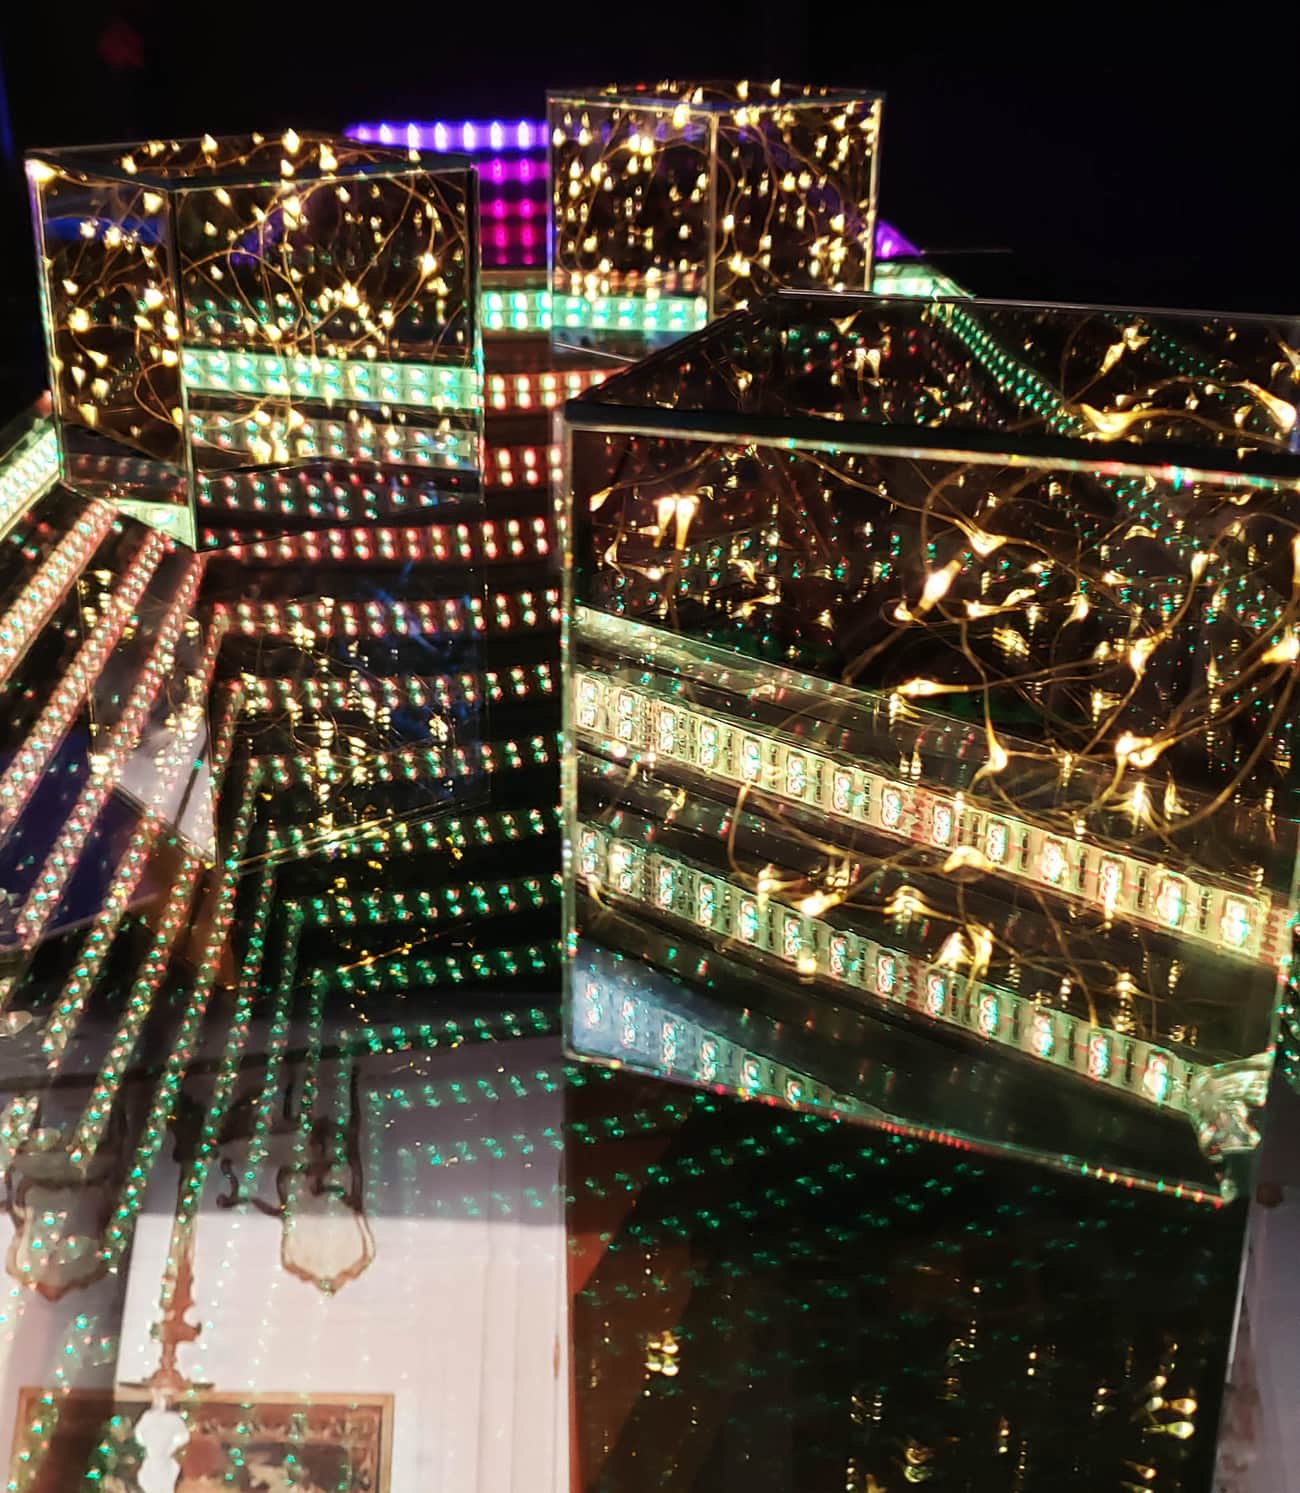
The infinity mirror cube is here to captivate and dazzle you. It’s impressive ability to see the infinity effect through all six (6) sides will have you staring at it for hours.
This page will help you create your own infinity mirror cube Step-by-Step!
Step 1: Choosing your Glass
Table of Contents
Having the right type of glass is crucial to creating the perfect infinity mirror cube.
The Smart Mirror Glass is perfect for the infinity mirror cube. The glass is 70% reflective and 30% transparent.
Smart mirror glass is easy to clean, the edges are sanded for safety, scratch resistant coating, polished and beveled options, temperable for extra strength, and it has better quality than your standard two way mirror.
You will need to measure the glass. Two sides should be longer than the others so you can glue the sides on to make a perfect corner.
2. Glue
You’ll need 6 pieces of glass (since it’s a cube). Therefore, you’ll need a type of adhesive to hold them together.
We recommend using UV Glue. The glue does not harden until it is exposed to the UV light.
This helps create the perfect edges for your cube. You can put the glue on first, line up the sides perfectly, and then let the glue dry.
For more information about the UV Glue, read this article: UV GLUE CURING
3. Lights
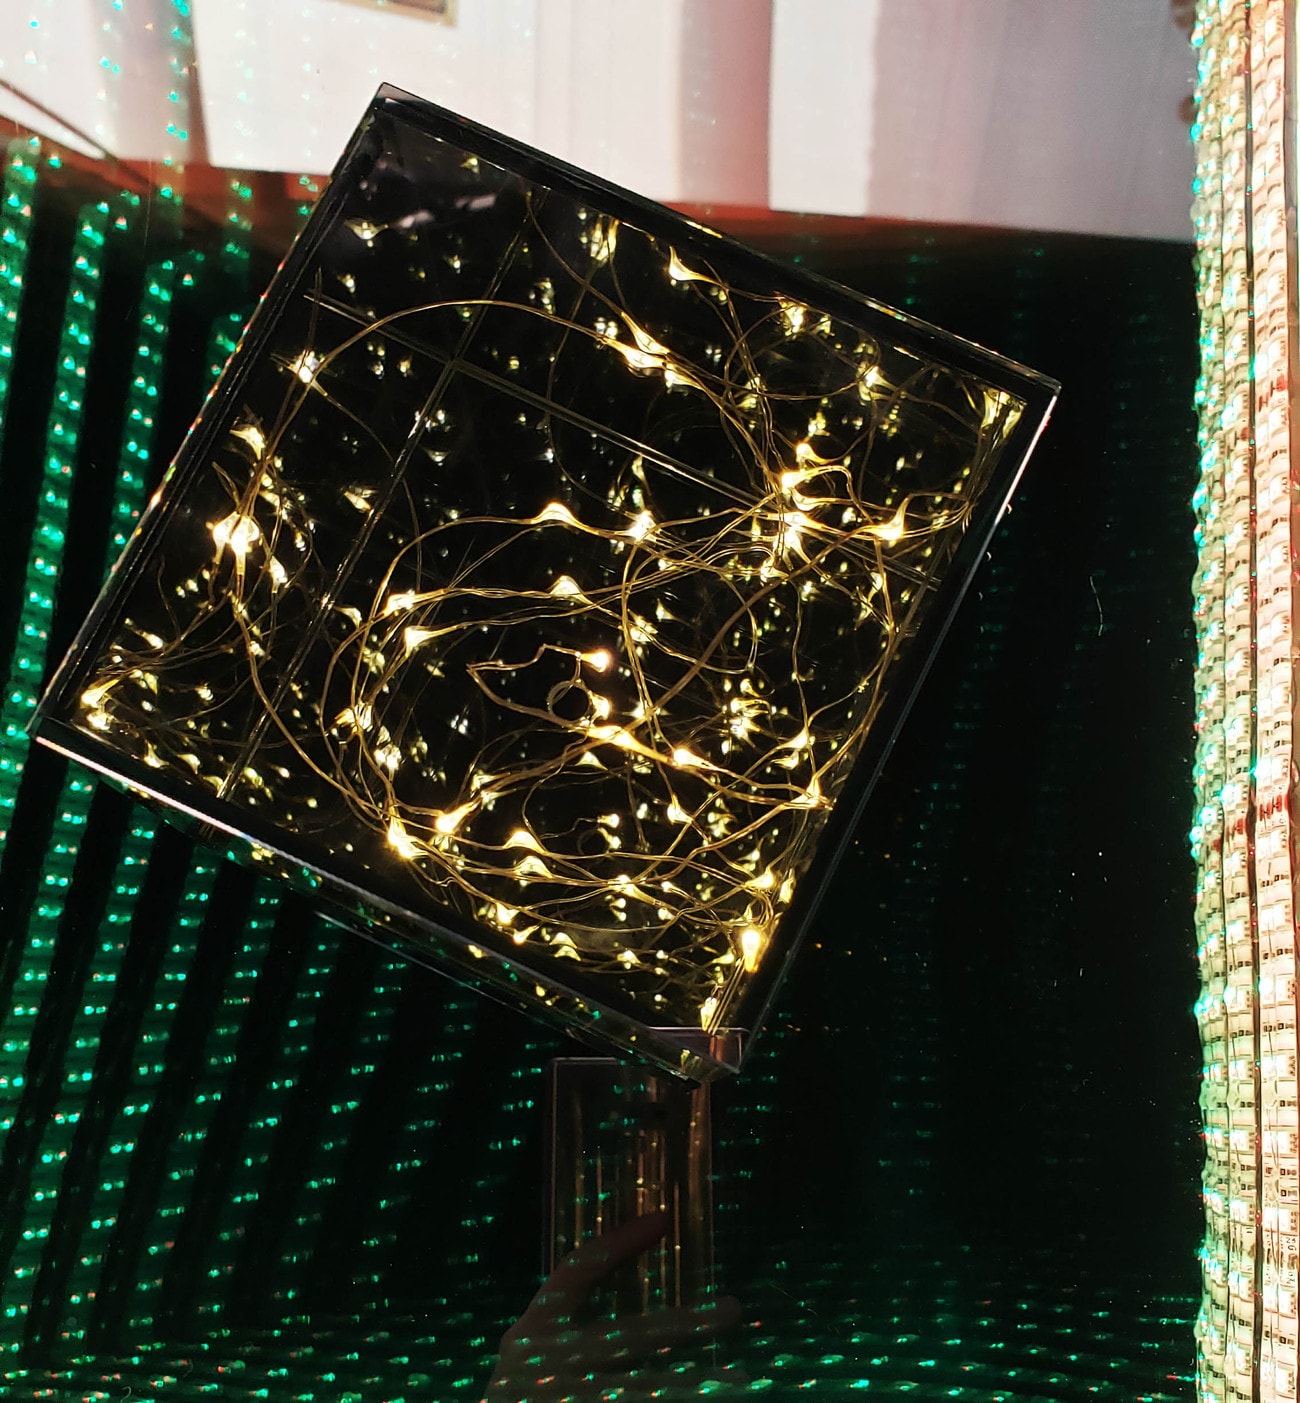
What really makes the infinity mirror is the lights you decide to put into it!
For ideas on different infinity mirrors and light sources, watch the video below!
Lights are perfect for creating the unforgettable and irresistible infinity mirror cube. The lights are placed inside the cube to give it the “infinity effect”.
You can use any type of light source that appeals to you and your project! We recommend battery powered lights if you are wanting to place your cube as a center piece, or somewhere that isn’t close to an outlet.
Here are some ideas:
4. Assembling the Infinity Mirror Cube
Note: All glass edges will need to be sanded to a Beveled Edge so the corners and sides will fit together.
Place one of the Glass Smart Mirror squares on the bottom. Place the reflective side up facing the ceiling. This will be your base of the cube.
Then, apply the UV Glue to an edge of another piece of Glass Smart Mirror. Place the reflective side facing the INSIDE of the cube. Have the transparent side facing you.
The purpose of the infinity mirror is to have the transparent sides facing the outside (you), and the reflective sides facing the inside (lights).
The light will bounce all around inside, but some will escape through to the transparent side. Thus, creating the infinity effect.
For more information on how the light reflects and travels through an infinity mirror, check out our Blog: Amazing Science Behind the Infinity Mirror
Continue placing the Glass Smart Mirror squares along the base. Make sure you dry the glue with the UV light.
5. Placing the Lights Inside
Once you have all five (5) sides glued together, place the lights in the opening. Arrange the lights to fit your desired design.
Once you have the lights placed inside, leave the battery pack on the outside of the cube. This will allow you to turn it on/off and change the batteries when needed.
Finally, place the top piece of Glass Smart Mirror on top. You can either glue it on and avoid the battery area, or you can make the “top” the “bottom” and just not glue it on. It’s completely up to you!
I hope this page helped you create your own infinity mirror cube!
Once you master making the infinity mirror cube, next try to create an infinity hypercube!